upcycling · April 5, 2026
Hutch Top Upcycle Flip | The Genius Furniture Splitting Hack & Upcycling Furniture Ideas | Lemons To Lemonade Home
Transform an old hutch top into a stunning statement piece! Learn the genius furniture splitting hack for maximum profit and beautiful home decor.
Hutch Top Upcycle Flip | The Genius Furniture Splitting Hack & Upcycling Furniture Ideas | Lemons To Lemonade Home
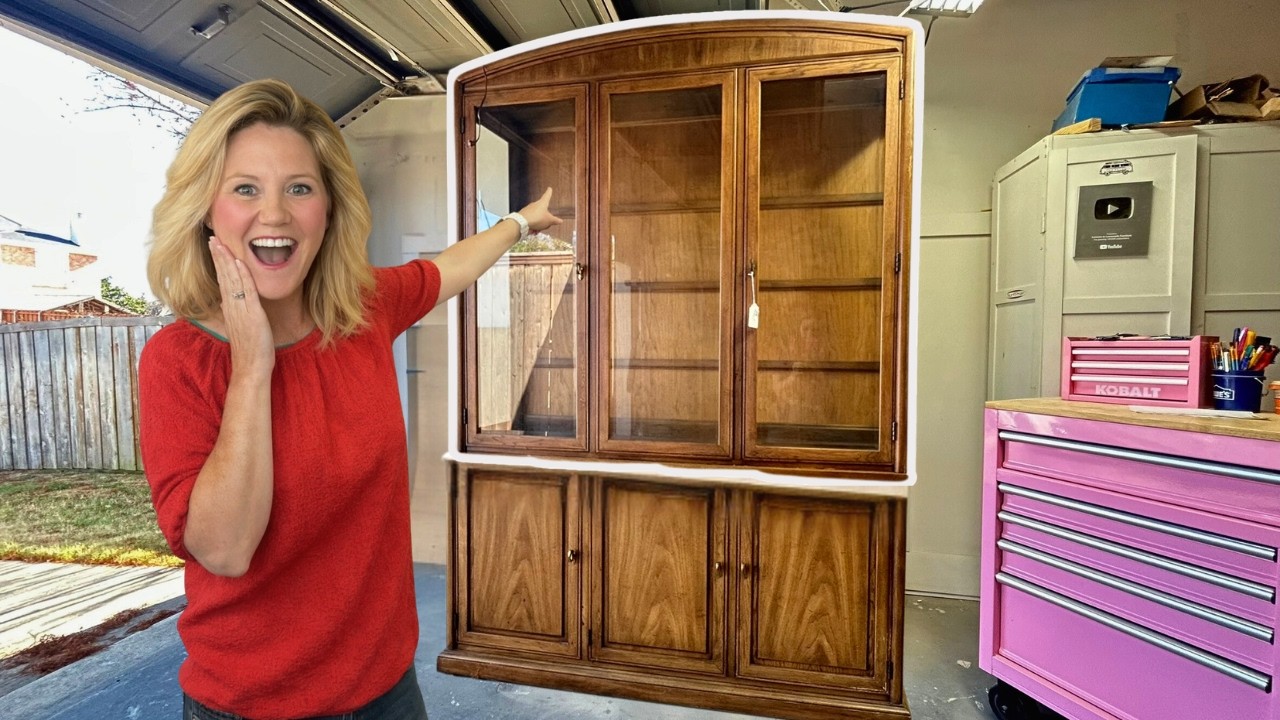
Hey there, fellow DIY enthusiasts! Have you ever looked at an old piece of furniture and wondered how to unlock its full potential? Today, we’re diving into the brilliant world of upcycling furniture ideas by taking a $12 china hutch top and transforming it into a standalone masterpiece. If you loved the viral bottom-half flip, get ready to see how the top can be an even bigger money-maker!
This isn’t just about painting; it’s about smart design, strategic dismantling, and turning forgotten pieces into profitable treasures. Let’s make some serious profit and create something beautiful for your home!
The Genius Furniture Splitting Hack: Why Separate?
When you find a complete china hutch, often the bottom buffet and the top display cabinet have different design potentials. Splitting them can double your chances of a successful flip and cater to different decor needs. The bottom might become a chic media console or a buffet, while the top can shine as a unique wall cabinet, a bathroom vanity topper, or even a stunning bookshelf. It’s all about seeing the individual beauty within the whole!
In this project, we’re proving that sometimes, two pieces are better than one, especially when you’re looking for the best return on investment for your creative efforts.
Step-by-Step Transformation: From Hutch Top to Statement Piece
Let’s get our hands dirty and turn this hutch top into a showstopper!
1. Careful Disassembly: Removing the Extras
First, we need to strip down the hutch top to its core. This involves a few key steps:
- Pry off the decorative poles: These are often attached with small nails. Using upholstery tools can help you gently loosen and remove them without damaging the wood.
- Remove glass panels: This can be tricky! The glass is usually held in place by plastic stripping. Carefully remove the stripping (and label it if you plan to reuse it or need to know its original placement). Labeling each glass panel is crucial for easy reassembly if you decide to put them back.
- Detaching the back panel: For a truly custom finish, removing the thin back panel makes painting the interior much easier and allows for creative additions like wallpaper. Use your upholstery tools to pry it off, paying attention to any staples or nails.
Pro Tip: While dismantling, keep an eye out for any maker’s marks or dates! This particular hutch top revealed it was a Thomasville piece, possibly from 1982 or 1973 – a fun piece of history to uncover!
2. Prep for Paint: The Scuff Sand
Once all the removable parts are off, it’s time for a good scuff sand. This isn’t about stripping down to bare wood, but rather creating a “tooth” for your paint to adhere to.
- Use 180-grit sandpaper: A softer foam abrasive pad on your sander is perfect for navigating the curves and edges of furniture without causing damage.
- Sand inside and out: Since the entire piece will be painted, make sure to scuff sand every surface thoroughly.
3. Painting Perfection: Choosing the Right Finish
Now for the fun part – color! For this project, we’re going for a deep, sophisticated black:
- Sherwin Williams Caviar: This is a fantastic choice – a deep black with a subtle hint of blue, adding richness without being stark.
- Emerald Trim Collection: When selecting your paint, specifically ask for the Emerald Trim Collection from Sherwin Williams. This line is self-priming and self-top-coating, making it an absolute dream for furniture and cabinets. It saves you crucial steps, time, and money!
- HVLP Sprayer: For a flawless, factory-like finish, an HVLP sprayer is your best friend. Make sure to use liners for easy cleanup.
- Set up your paint station: If you’re painting indoors, a heavy-duty plastic backdrop (like painter’s plastic) hung from the ceiling can protect your walls and make cleanup a breeze.
4. Adding a Touch of Whimsy: Peel and Stick Wallpaper
To elevate the interior and add a unique personality, peel and stick wallpaper is a game-changer.
- Repurpose leftovers: If you have any leftover peel and stick wallpaper from other projects, this is the perfect opportunity to use it up!
- Easy application: Simply measure, cut, and apply to the interior back panel. It instantly transforms the piece and adds a designer touch.
Why This Upcycling Furniture Idea is a Game Changer
This hutch top upcycle isn’t just about a pretty piece of furniture; it’s about smart design and maximizing value.
- High Profit Potential: A $12 investment turned into a statement piece can yield significant profit, proving that furniture splitting is a genius hack.
- Unique Home Decor: You’re creating a one-of-a-kind item that reflects your style, something you can’t buy in a big box store.
- Sustainable Living: Giving new life to old furniture is a fantastic way to practice sustainability and reduce waste.
- Skill Building: Each project builds your DIY confidence and expands your creative toolkit.
Your Next Upcycling Furniture Adventure Awaits!
Feeling inspired to tackle your own furniture splitting hack? Whether you’re hunting for treasures at a local thrift store or eyeing a piece in your own home, remember the potential hiding within. With a little creativity, the right tools, and these expert tips, you can transform anything from “lemons to lemonade”!
What old furniture pieces are you dreaming of transforming? Share your ideas in the comments below!